Radiance vs. YouNameIt
1 Introduction
Q: What is Radiance?
A: Instead of describing in my own words what Radiance is, let
me provide the information, where to find it, and which
documents or which book you
should read.
 |
Rendering with Radiance
The Art and Science of Lighting Visualization
By Greg Ward Larson and Rob A. Shakespeare,
with contributions from Peter Apian-Bennewitz,
Charles Ehrlich, John Mardaljevic, and Erich Phillips
Copyright © 1998 by Morgan Kaufmann Publishers
You can order the book e.g. via Amazon,
but to get started you might just want to
download and install the software to start
experimenting with it. There are pre-compiled
executables for Mac OS X, but I didn't have
a problem to compile them myself from the
source code provided there (same for Linux). |
Q: Why Radiance vs. YouNameIt ?
A: It's basically a comparison of Radiance with other
renderers which are able to render a scene with global illumination
(GI). Radiance is around for a long time but still can be used to
describe a scene and accurately simulate how incoming light (e.g. from
the sun and other light sources) will illuminate it. You will also
realize that there wouldn't be HDR imaging (HDRI) around without this
renderer and people who
discovered it's usefulness. The HDRI Handbook was written by a
friend of mine and is available in several languages.
Q: What can we learn here?
A: First of all about rendering in general, but more from a
user perspective (in contrast to teaching you how to write your own
renderer). I will also provide little tools for reading the Radiance
scene description for some simple examples (scenes shipping with the
book) and to convert them into other scene descriptions (either to bring
them into a modelling system, or to convert directly to a file which can
be rendered with another renderer).
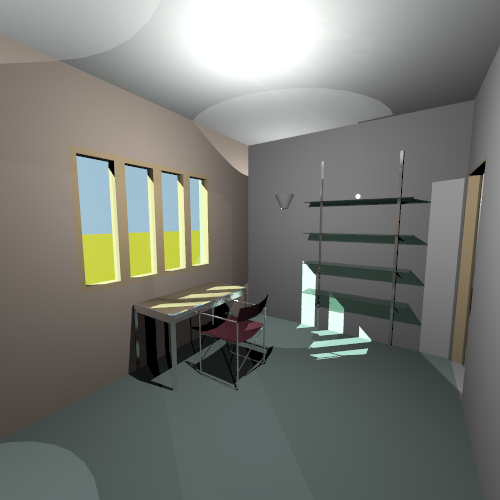
2 Simple Scene
From the Radiance book web
site you can download chapter 1 as a PDF file and
there are also several compressed files (scene[0-2].tar.Z) which contain
the three scenes I will talk about. Please read and compare with
chapter 1.3 (called 'Scene 0 Tutorial' ).

As you can see in the screenshot above I do use Houdini from
Side Effect Software as one of the
modelling systems to experiment with alternative renderers. But let's
first focus on some commands and images described in the tutorial
mentioned above.
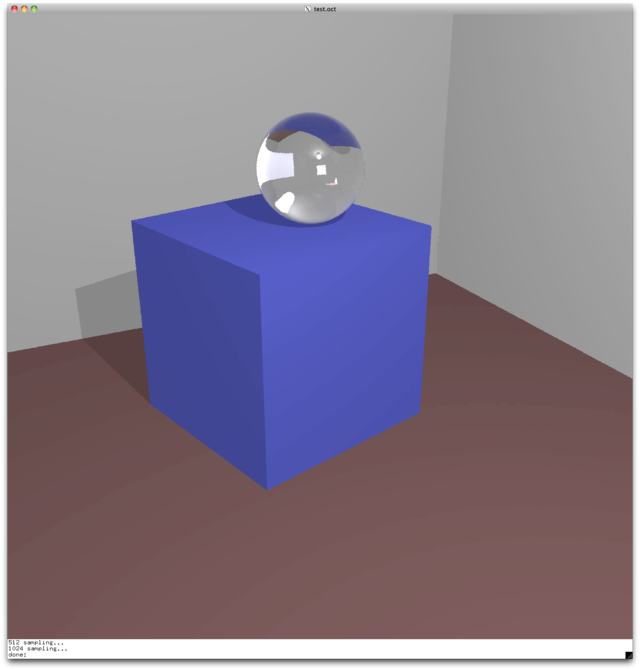
2.1 Radiance
The scene is as simple as it can get for global illumination. The
tutorial starts with two spheres, one which we will look at, the other
one to illuminate the scene (acting as a light source). So here are the
three commands I used the render the image below:
% oconv room0.rad > test.oct
% alias rview /usr/local/bin/rview
% rview -vp 2.25 .375 1 -vd -.25 .125 -.125 -av .5 .5 .5 test.oct

The scene isn't that impressive yet, but let's shortly describe
what's going on. The first command takes the scene description and
converts it to an octree (an acceleration structure for the
renderer). The second command isn't really necessary if your system
finds the command rview, which comes with the Radiance
installation, first. Unfortunately on my computer it finds a command
with the same name first, which actually starts Vim . The interesting bit of the third
command, which starts an interactive viewer, is that the scene
description itself does not contain a camera. So your view point
(option vp) and the view direction (option vd) are
specified via the command line (or will be read via a file). The
tutorial in the book actually has some more intermediate steps but I
will omit them here. Basically it explains the usage of genbox, a
generator program to create a simple box, adds two boxes to the scene
(the inner box acts as a table, the outer box as the room we are in),
adds a rod to connect the light source to the ceiling, changes materials
and re-renders a couple of times by re-creating the octree and starting
the interactive viewer. The following example reads the view point and
direction from a file:
% oconv room3.rad > test.oct
% rview -vf default.vf -av .5 .5 .5 test.oct

After adding a window by cutting a whole into one of the walls of the
outer box the tutorial describes how to use the special-purpose
generator gensky . It also defines a window material which lets
sun light into the room (see bright spot on the floor):
% gensky 3 20 10 -a 40 -o 98 -m 105 > sky.rad
% oconv sky.rad outside.rad window.rad room.rad > test.oct
% rview -vf default.vf -av .5 .5 .5 test.oct
But beside the visibility of the window and the sun light cast on the
floor within the glass sphere the picture looks still pretty much the
same. We need to modify the rendering commands to use another
description of the window's glass material, which actually makes it act
like a secondary light source.
% oconv sky.rad outside.rad srcwindow.rad room.rad > test.oct
% rview -vf default.vf -av .5 .5 .5 test.oct
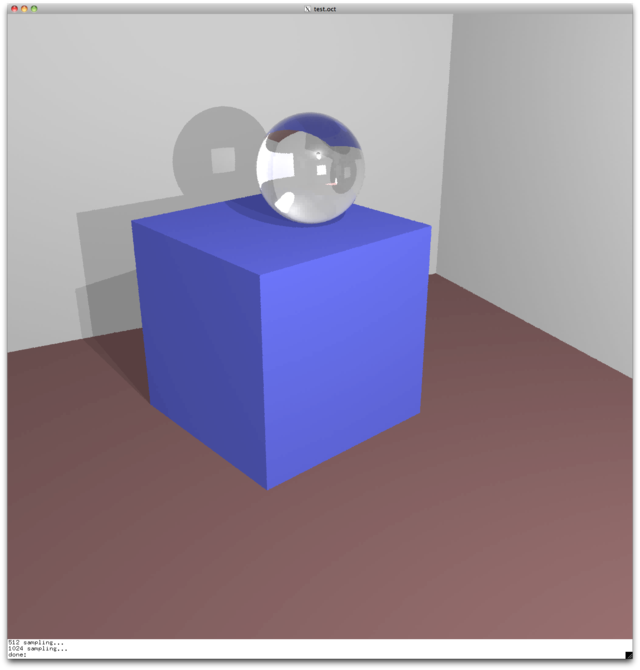
Now we see some extra shadows cast on the wall and the sun light
contributes to the illumination of the room.
The rest of the tutorial is about how to automate the rendering
process and adding a simple outdoor scene which should have an impact on
the indoor scene. Here is the first command using an outside ground
plane and a nearby building with one indirect bounce for the light
coming through the window.

As you can see the shadows which do not come from the indoor
spherical light source are much more diffuse, but the rendering time
goes up a lot. To compensate for that there is another RIF file, which
does not use interreflections but uses a program called mkillum
"to create a modified window file that uses calculated data values to
define its light output distribution."

But this looks pretty similar to the result we had using no outdoor
scene. So let's use mental images' imf_diff program to visualize
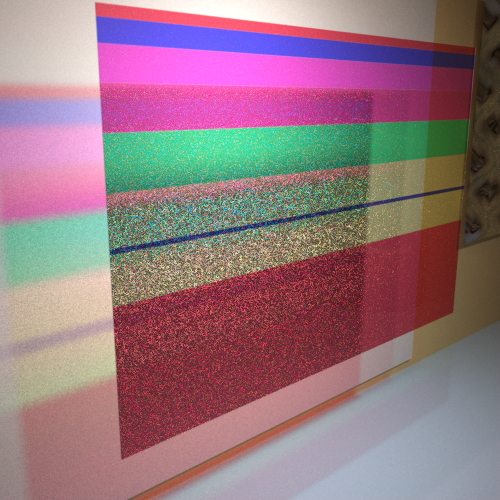
the difference between those two images:
On the left side you see the difference in absolute color values
(which is hard to see), on the right side there is a false color
representation, where blue to green indicates only small differences,
whereas red to white means huge differences (see histogram on top).
Let's do the same for the diffuse shadows vs. the hard shadows created
by the different RIF files:
For convenience here is a little text file (called render_scene0_book.txt )
which can be used to render all examples coming with chapter one from a
shell by simple “sourcing” it. Simply save it in the
scene0 folder you downloaded above (once you uncompressed and
“un-tarred” the scene0.tar.Z file). It prints a single
echo line what you can expect from the rendering (done with the
interactive viewer rview):
% source render_scene0_book.txt
There is another text file (called render_scene0_filt.txt ))
which is used to re-render two images (one using inter.rif, the other
using illum.rif) in higher resolution and scale them down, essentially
filtering them to avoid aliasing.
% source render_scene0_filt.txt
Here are the resulting images:
Here some simple tests regarding tonemapping and how renderers deal
with overexposed images. The following text file (called render_scene0_cams.txt )) was
used to generate images from the same scene from different camera
views:
% source render_scene0_cams.txt
Here are the resulting images:
2.2 Arnold
2.3 Cycles
2.4 Maxwell
Be careful to export vertex normals (e.g. with OBJ files) for
smooth objects (like the sphere) before you bring in the geometry in
Maxwell's Studio application.
2.5 Indigo
2.6 Luxrender
The first image was rendered without the window glass. For the other
images architectural glass was used.
2.9 Mitsuba
2.10 Octane Render
For Mantra you can use primitives (like a sphere or tube) instead of
polygons or NURBS. For light emitting geometry that seems to make a huge
difference, as you can see in the following images (The first uses
imported OBJ files, the second one uses primitives):
After setting up a daylight system and a portal for the window the
result looks like this:

2.14 mental ray


TODO: Ask on forum how to tweak some render parameters and
material settings to get good results.
3 Changing Lights
3.1 Radiance
Using *.rif files improved the quality of the resulting Radiance
images a lot (in comparison to the settings mentioned in the Radiance
book).
3.2 Arnold
To render more efficiently with Arnold I replaced the light emitting
spheres behind the lenses (lights on the wall) with point lights using
the same radius. The light emitting disks (ceiling) were replaced by
disk lights. The light emitting objects were rendered separately
(without GI) and composed over the GI image (otherwise the disks would
not be visible).
Using point and spotlight instead of light emitting geometry saves a
lot of rendering time. The point lights could use a radius as well, but
this should be closer to what Radiance does. The left image renders in
about an hour, the right one in approx. 15 minutes.
3.3 Cycles
3.4 Maxwell
3.5 Indigo
3.6 Luxrender
Using my own exporter for Luxrender:
The second image uses linear tonemapping (ISO 640, shutter 0.067,
f-stop 5.6, gamma 2.2). The weights for bulbf and lens are 100 and
10.
To render more efficiently with Vray I replaced the light emitting
spheres behind the lenses (lights on the wall) with point lights using
the same radius. The light emitting disks (ceiling) were replaced by
(square) area lights. The light emitting objects were rendered
separately and composed over the GI image (otherwise the disks would be
visible as squares).
Left:
-
Color mapping: Gamma 2.2, Linear workflow, Clamp output
-
Image sampler: Adaptive subdivision (min -2, max 3), Object
outline, Normals (0.05), Randomize samples
-
Global Illumination: Primary engine (Light cache), Secondary
engine (Light cache), Limit ray distance (40)
-
Light Cache: Subdivs (1000), Sample size (0.01), World, do
not store direct light, Filter Nearest
Tracing 62500 (250x250) image samples for light cache in 8
passes.
Light cache contains 416 samples (Sample size 1.0)
Light cache contains 4595 samples (Sample size 0.1)
Light cache contains 10253 samples (Sample size 0.01)
Tracing 250000 (500x500) image samples for light cache in 8
passes.
Light cache contains 9238 samples (Sample size 0.1)
Light cache contains 37687 samples (Sample size 0.01)
Light cache contains 41988 samples (Sample size 0.001)
Tracing 1000000 (1000x1000) image samples for light cache in 8
passes.
Light cache contains 14840 samples (Sample size 0.1)
Light cache contains 130139 samples (Sample size 0.01)
Light cache contains 162845 samples (Sample size 0.001)
Use light cache marked with bold font and filter it: Filter Nearest
1000 Samples, Pre-filter 100
Right:
-
Color mapping: Gamma 2.2, Linear workflow, Clamp output
-
Image sampler: Adaptive subdivision (min -2, max 3), Object
outline, Normals (0.05), Randomize samples
-
Global Illumination: Primary engine (Light cache), Secondary
engine (Light cache), Limit ray distance (40)
-
Light Cache: Subdivs (1000), Sample size (0.01), World, do
not store direct light, no filters
The three round lights were rendered separately and composited above
the square area lights, because V-Ray doesn't support disk lights.
3.9 Mitsuba
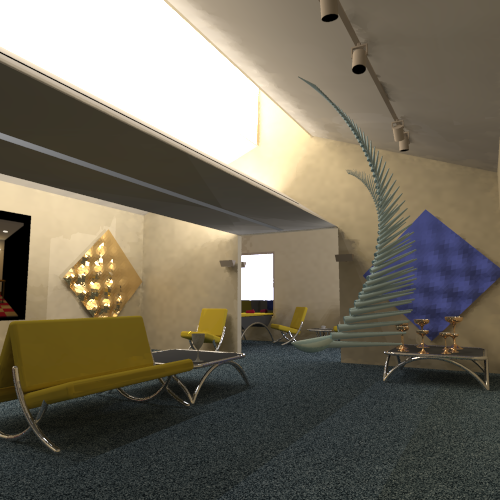
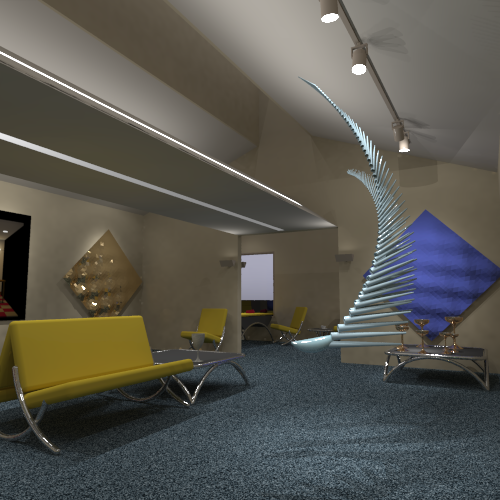
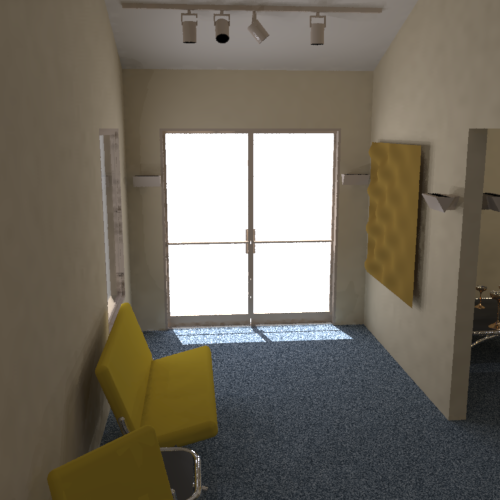
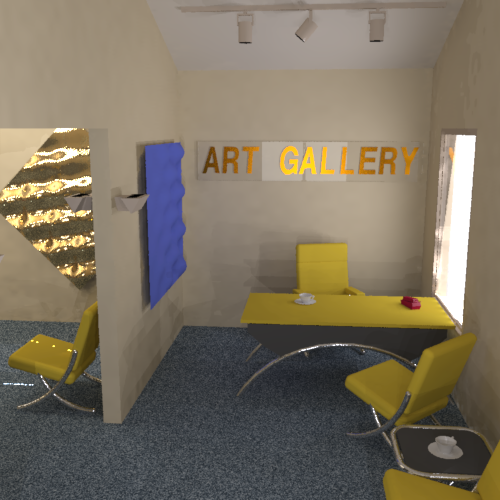
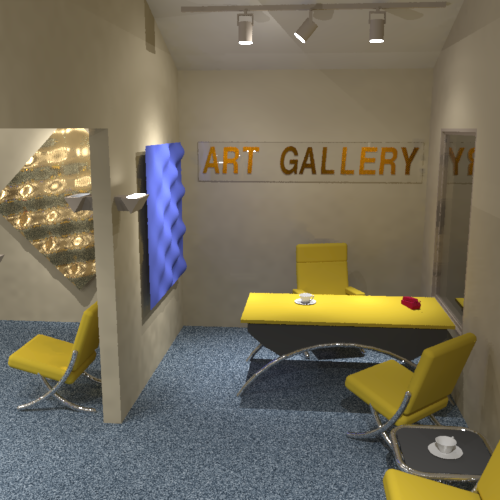
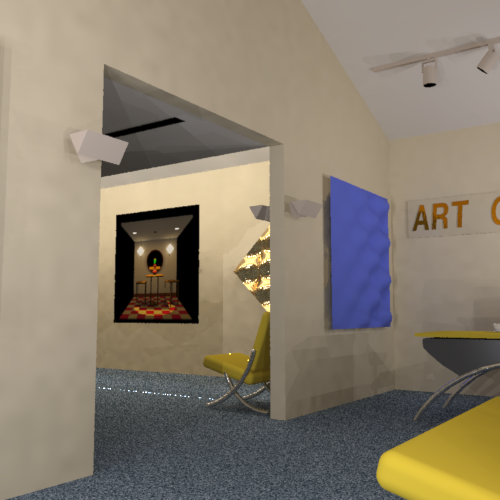
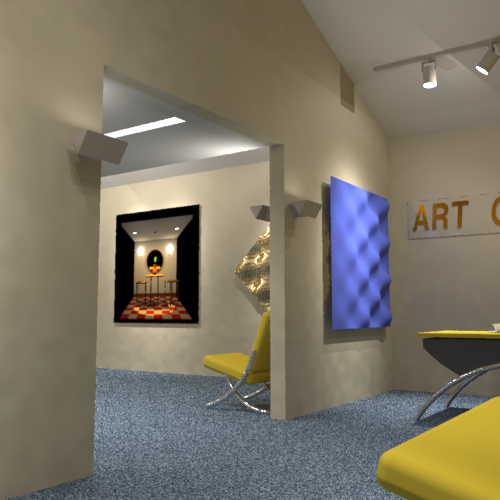
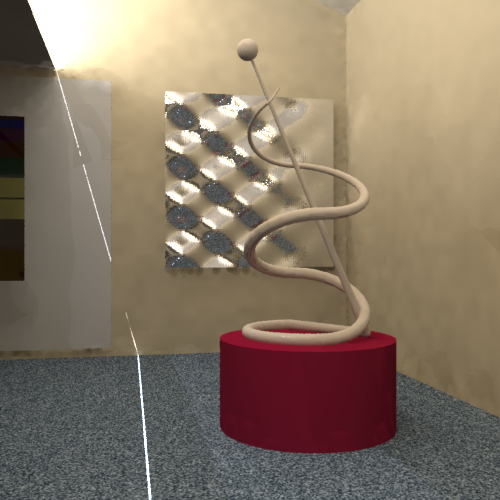
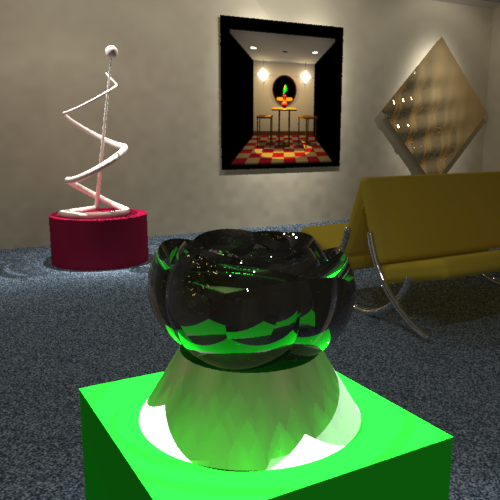
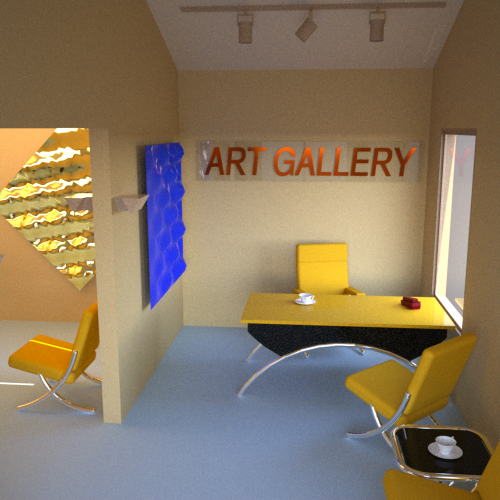
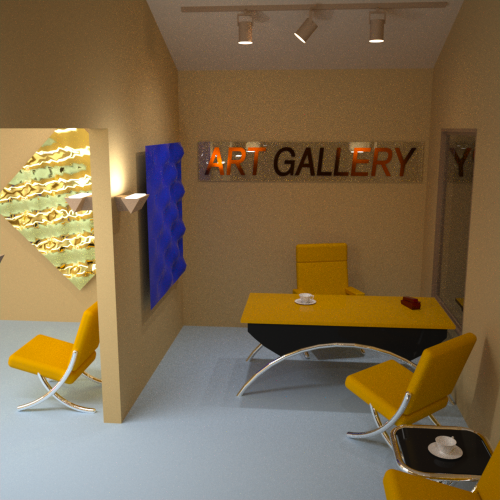
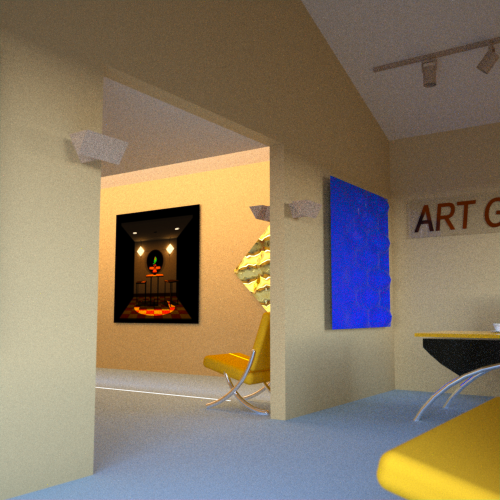
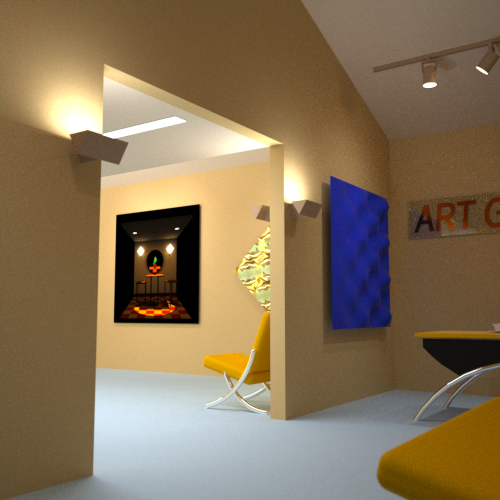
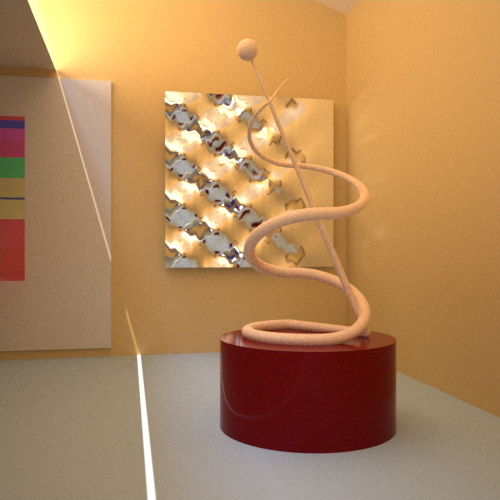
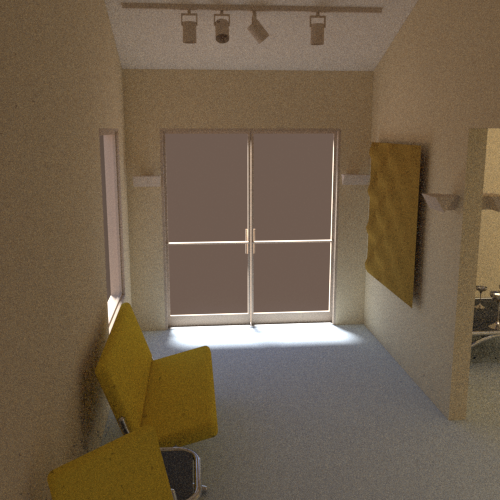
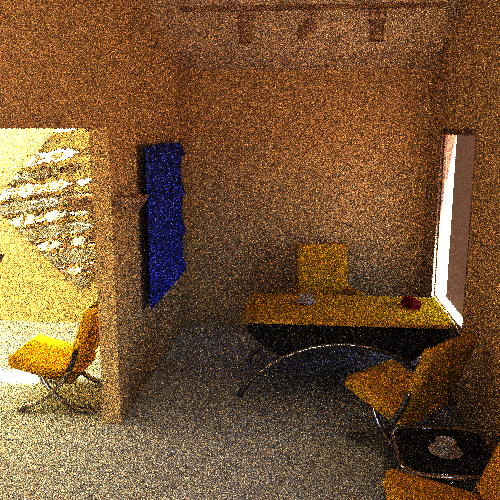
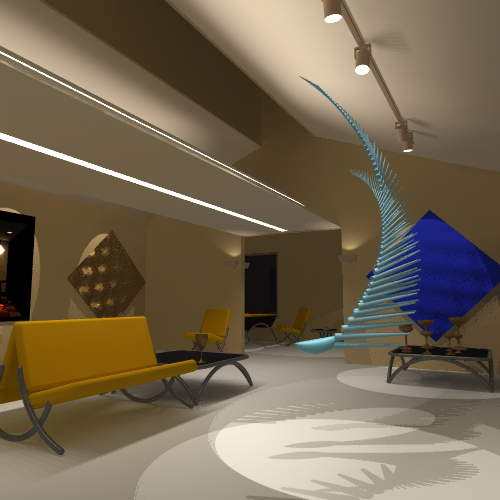
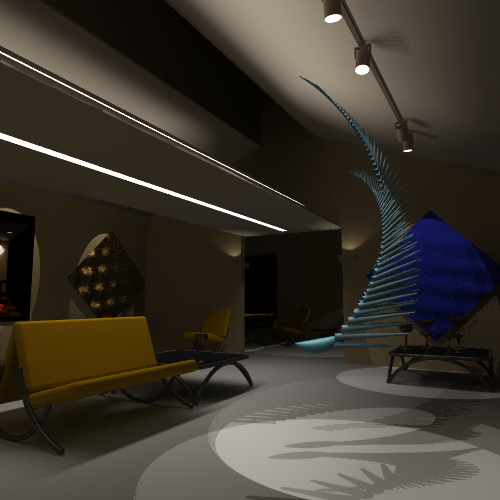
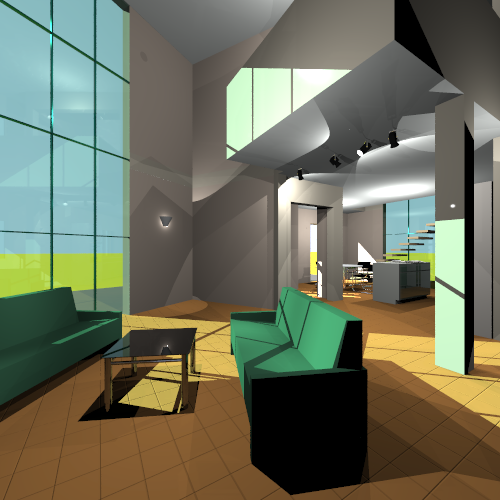
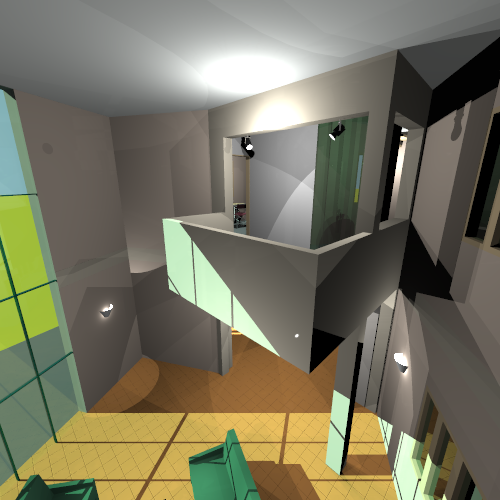
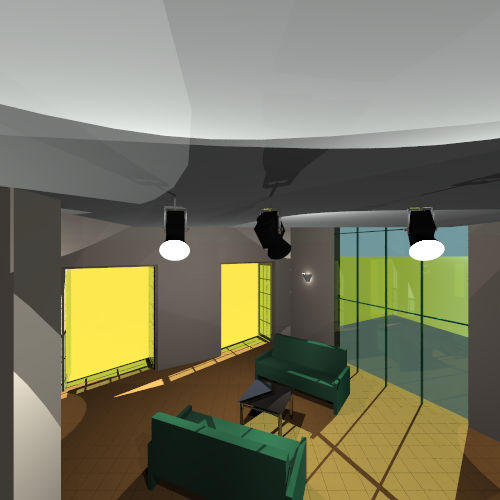
4 The Art Gallery
I added a grey ground object outside of the building which wasn't in
the original scene description because different renderers did react
differently to the daylight simulation outside of the building. Some do
only simulate the sky color, other allow to define a ground color. In
any case what would you expect if you look through a glass door or
window and there is nothing outside? So, to make the rendered images
more consistent I added a geometry outside with a grey material.
4.1 Radiance
For longer rendering times it's handy to know that you can send the
process into the background and ask on demand for a status report. First
you use the ampersand to send the process to the background. Then you
have to find out the process number of the rpict command (not the
rad command). Once you got the process ID (PID) you can
use the kill command with an option (to continue) to get a status
report. For example:
% rad scene2n.rif &
% ps -ef | grep rpict
PID
% kill -CONT PID
4.2 Arnold
4.3 Cycles
4.4 Maxwell
-
ISO: 800, 1/Shutter: 250.0, Burn: 0.2, Monitor Gamma: 2.2,
Intensity: 1.0
-
ISO: 400, 1/Shutter: 250.0, Burn: 0.8, Monitor Gamma: 2.2,
Intensity: 10000.0
-
ISO: 800, 1/Shutter: 125.0, Burn: 0.8, Monitor Gamma: 2.2,
Intensity: 1.0
-
ISO: 800, 1/Shutter: 500.0, Burn: 0.8, Monitor Gamma: 2.2,
Intensity: 10000.0
-
ISO: 800, 1/Shutter: 30.0, Burn: 0.8, Monitor Gamma: 2.2,
Intensity: 10.0
-
ISO: 100, 1/Shutter: 1000.0, Burn: 0.8, Monitor Gamma: 2.2,
Intensity: 1.0
-
ISO: 800, 1/Shutter: 10.0, Burn: 0.8, Monitor Gamma: 2.2,
Intensity: 1.0
-
ISO: 100, 1/Shutter: 1000.0, Burn: 0.8, Monitor Gamma: 2.2,
Intensity: 1.0
The sign at the wall uses kind of a gold material but it allows to
change the color (which was used in the original Radiance scene).
4.5 Indigo
For the tapestry glass pieces I had to export the scene from Blender
2.57b and adjust the medium (not the material) settings within Indigo
(3.0.14). To get the right colors I used the color within Blender (using
the original color values), switched to HSV and adjusted the value to
1.0. The resulting RGB values were inverted for Indigo's medium settings
and the brightness was adjusted to 200 (for all glass medium
settings).
-
Prescale: 4.0, Postscale: 1.2, Burn: 6.0
-
Prescale: 4.0, Postscale: 1.2, Burn: 6.0
-
Prescale: 4.0, Postscale: 1.2, Burn: 6.0
-
Prescale: 4.0, Postscale: 1.2, Burn: 6.0
-
Prescale: 4.0, Postscale: 1.2, Burn: 6.0
-
Prescale: 4.0, Postscale: 1.2, Burn: 6.0
-
Prescale: 1.0, Postscale: 1.2, Burn: 6.0
-
Prescale: 2.0, Postscale: 1.2, Burn: 6.0
4.6 Luxrender
-
Prescale: 1.0, Postscale: 1.2, Burn: 8.0
-
Prescale: 1.0, Postscale: 1.2, Burn: 6.0
-
Prescale: 1.0, Postscale: 1.2, Burn: 10.0
-
Prescale: 1.0, Postscale: 1.2, Burn: 6.0
-
Prescale: 1.0, Postscale: 1.2, Burn: 6.0
-
Prescale: 1.0, Postscale: 1.2, Burn: 6.0
-
Prescale: 1.0, Postscale: 1.2, Burn: 6.0
-
Prescale: 1.0, Postscale: 1.2, Burn: 6.0
Luxrender doesn't allow me to change the color of the “gold
leaf” material. I tried to fake it with other materials but it's
not a great success yet. For the “wave” object on the left I
simply used the “gold” material, even though the original
scene uses a different color. Same for the pipe color of the chairs and
tables, where I used a chrome like material.
If you render a daylight only scene make sure that your light
emitting geometry gets assigned a “matte” material,
otherwise you still kind of render the light groups (even if you turn
them off), and you rendering doesn't converge as fast as it could
without the light emitting geometry.
This scene was exported by my own Blender iray exporter, adjusted
(some materials) within RealityPlayer, and rendered within view.
I had to “tag” the PNG images within Gimp, otherwise the
gamma correction is taking place twice.
TODO: Rerender the unfurled object because it's tip (geometry)
was modified.
4.8 Mantra
You can adjust the brightness etc. in Houdini's ImageViewer ,
but unfortunately there is no tonemapper you can use. Therefore I saved
the image in Radiance's HDR format and converted it first to TIFF,
manipulating the exposure, and later I converted it from TIFF to
PNG:
% ra_tiff -e -2 scene2_mantra.hdr scene2_mantra.tiff
% imf_copy scene2_mantra.tiff scene2_mantra.png
As a result of this conversion you see the ground color of
Houdini's Environment Light. Basically you should see the
“ground” with other renderers too (and iray shows it, but I
selected a grey ground color, so the room doesn't pick up too much of
the ground color by color bleeding).
The second image is rendered with Mantra's IPR.
4.9 Povray
5 The Conference Room
LBL Building 90 Third Floor Conference Room by Anat Grynberg and Greg
Ward, Windows and Lighting Program, Lawrence Berkeley Laboratory,
Berkeley, California.
This model was created over a period of three weeks by painstaking
measurements and many vi editing sessions. The real conference room
looks very similar to the Radiance renderings as a consequence, and we
would be interested to compare results to other rendering techniques if
you have them.
Please do not use this model for any purpose without giving proper
credit.
5.1 Radiance
5.2 The Geometry
Imported by the Radiance importer for Blender (written by
myself) and rendered with 3Delight
(using the defaultsurface shader - the Arnold utility
shader's ndoteye shade mode would render pretty much the
same).
5.3 Arnold
5.4 Luxrender
5.5 Indigo
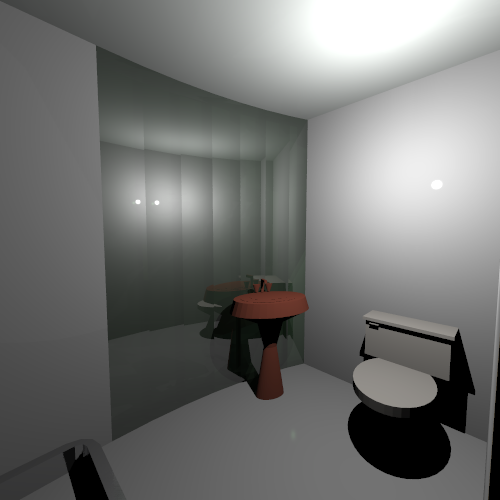
6 The Bathroom
6.1 Radiance
6.2 Arnold vs.
3Delight
6.3 Indigo vs.
Luxrender
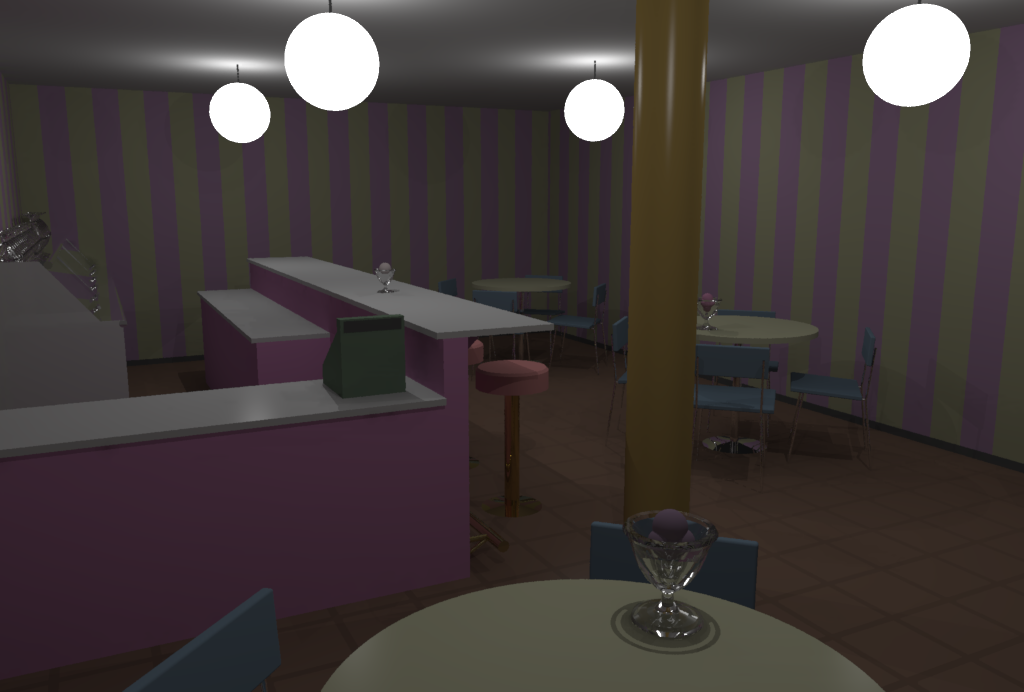
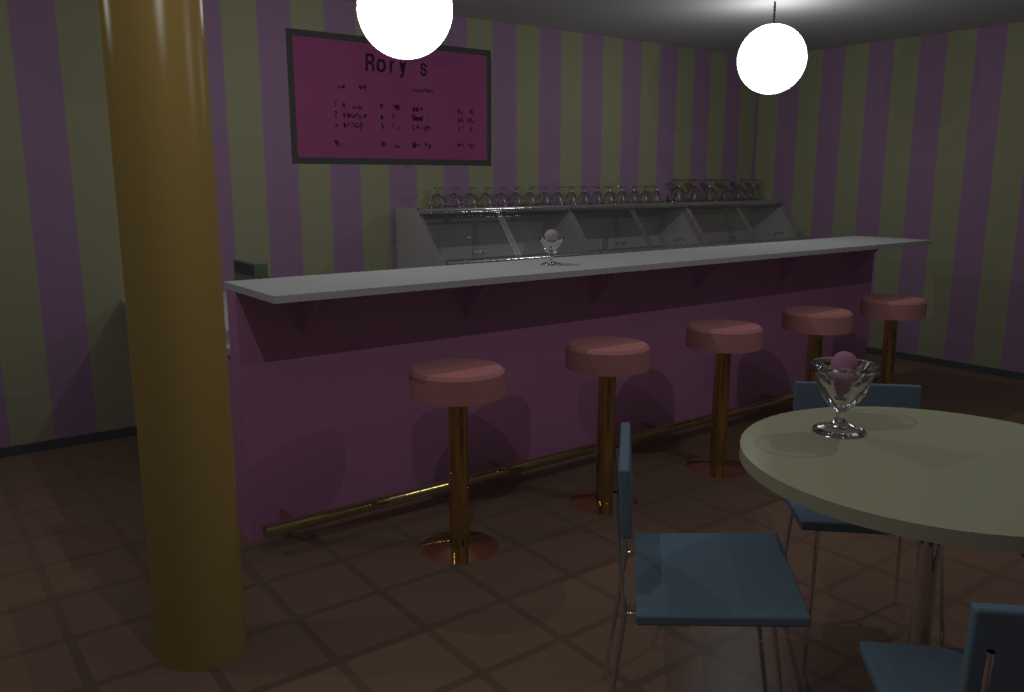
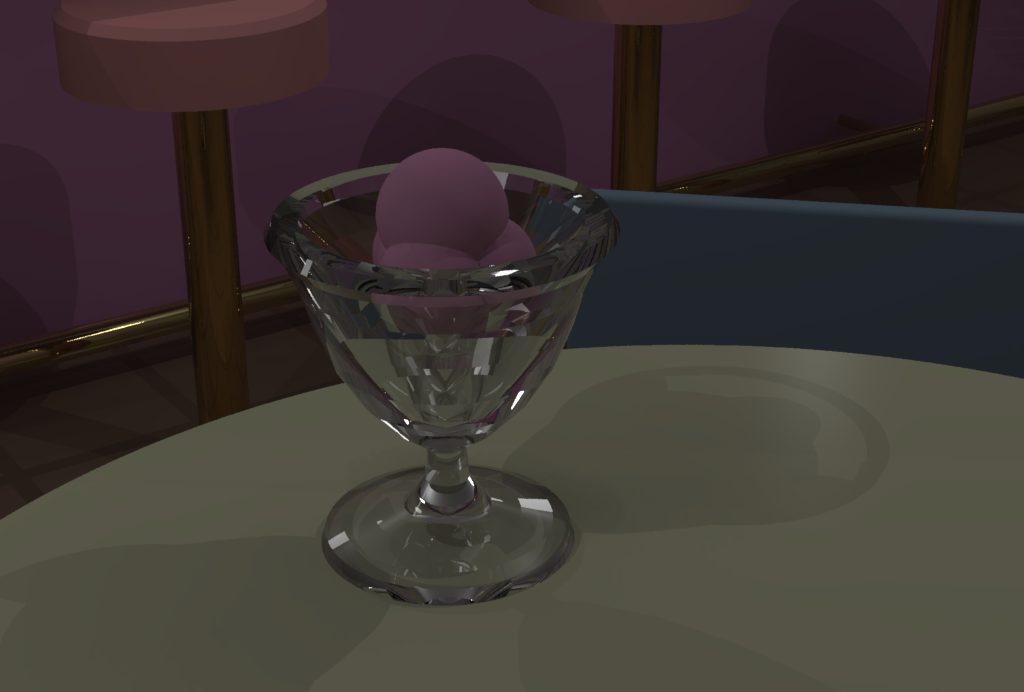
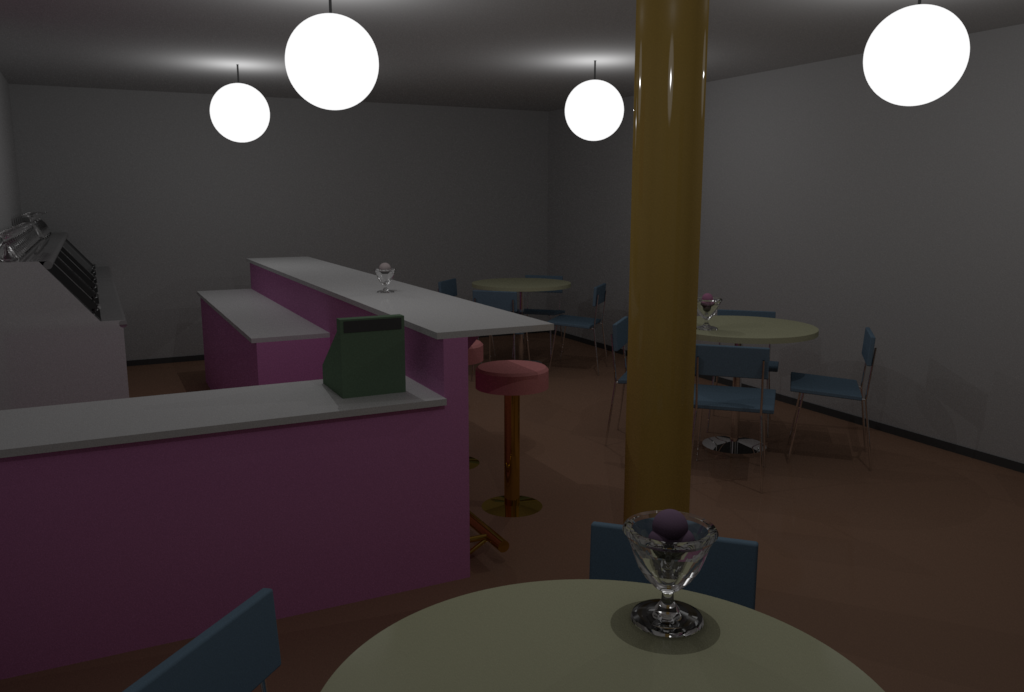
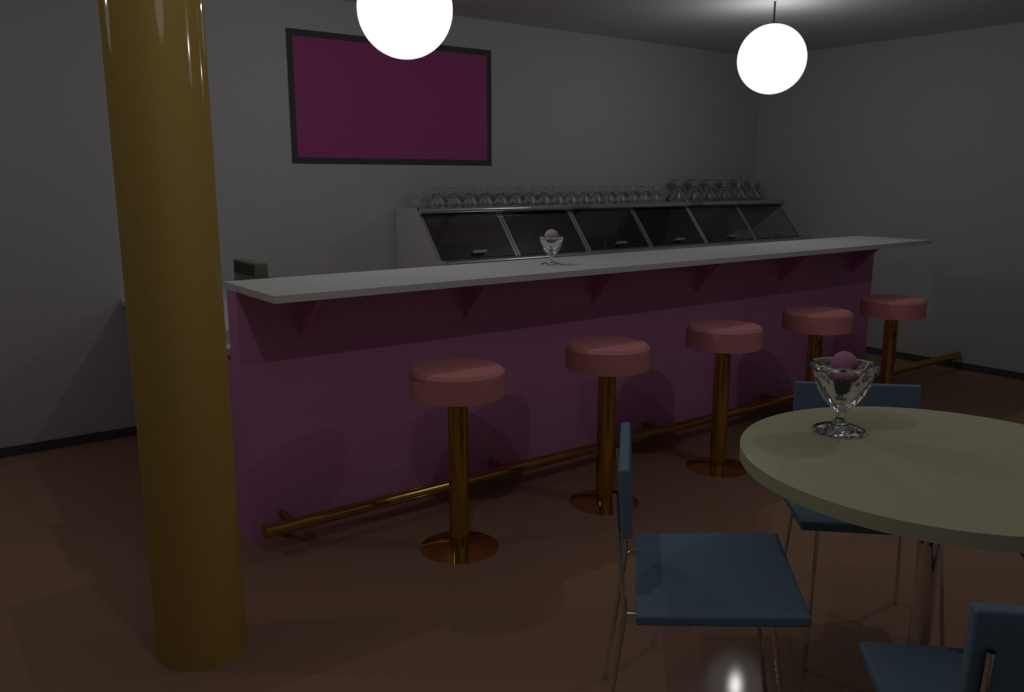
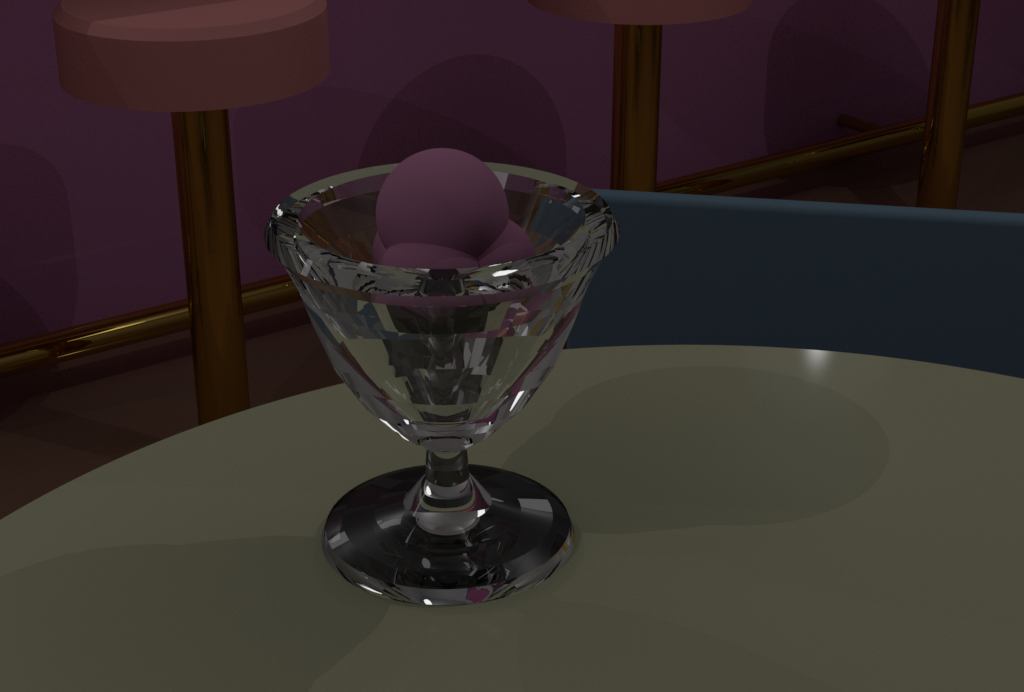
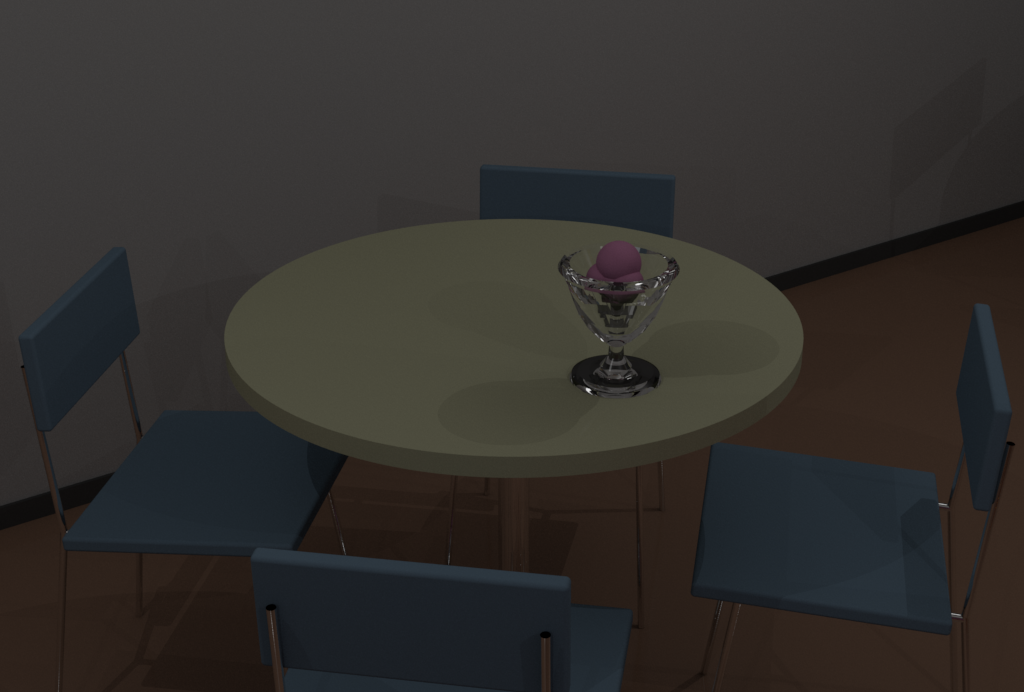
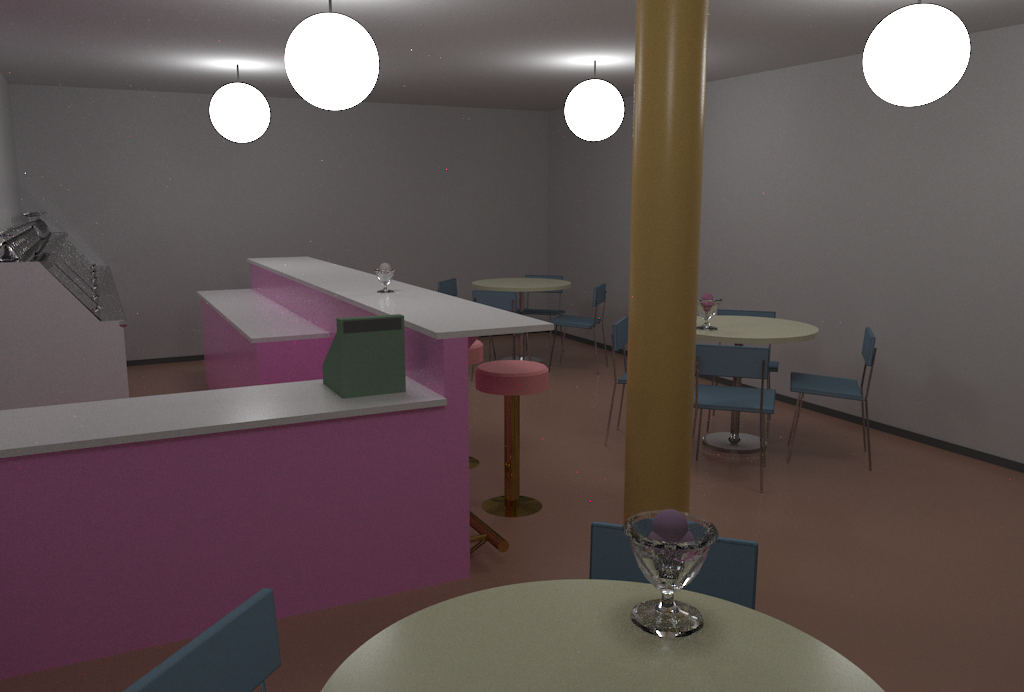
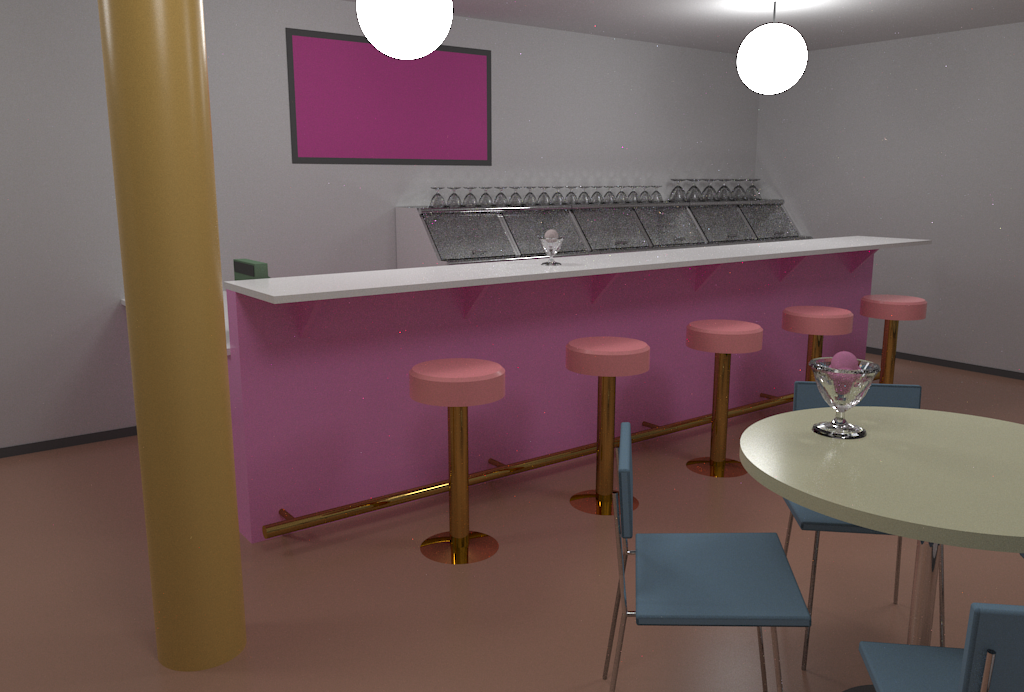
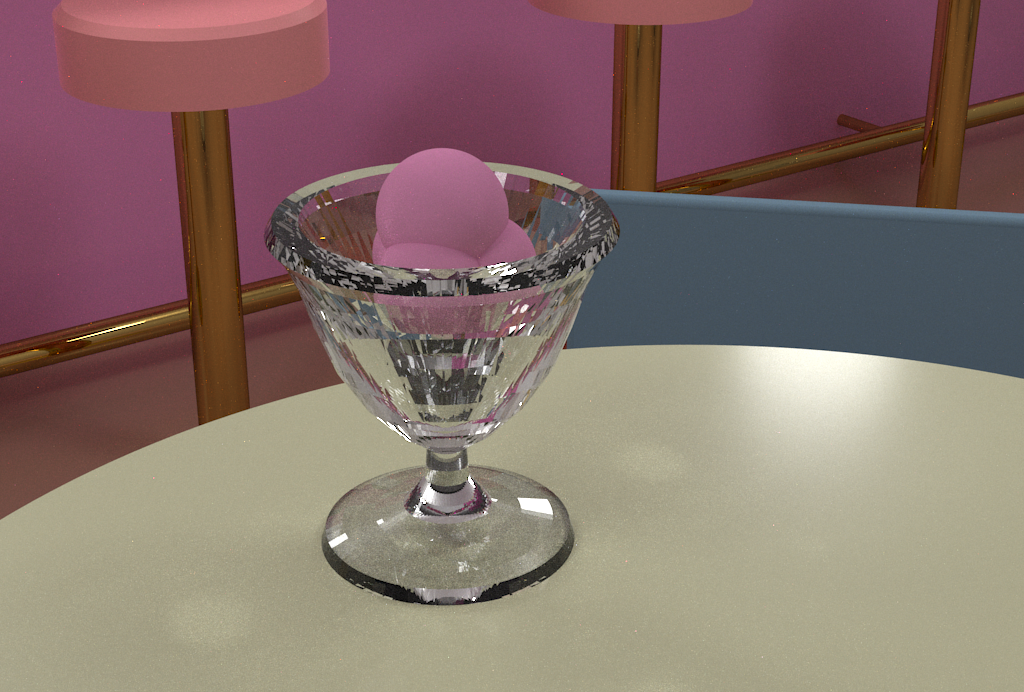
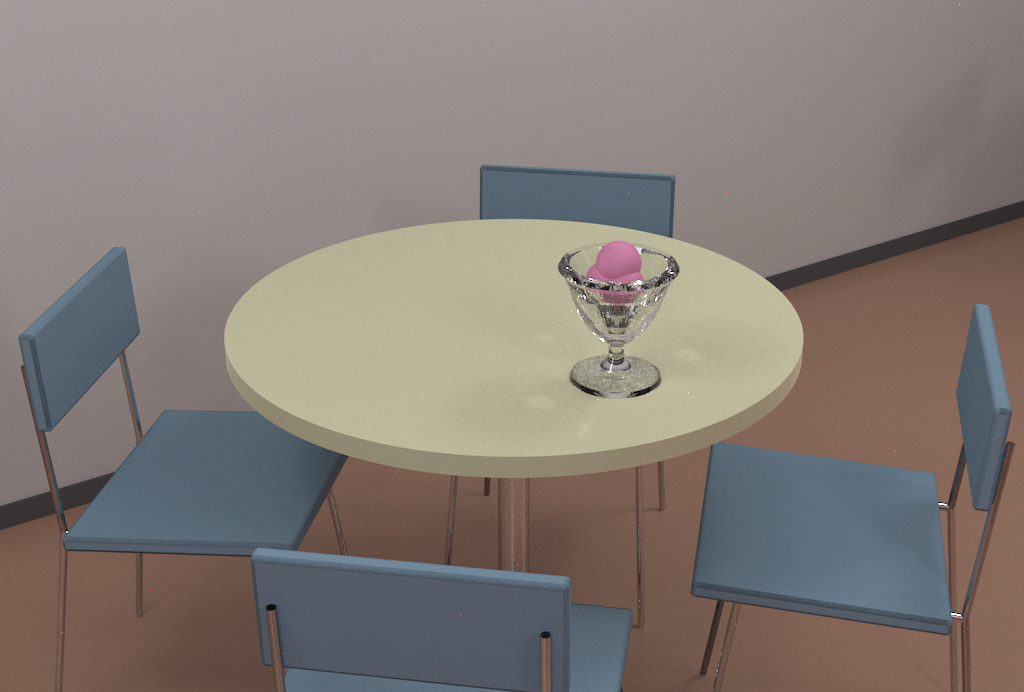
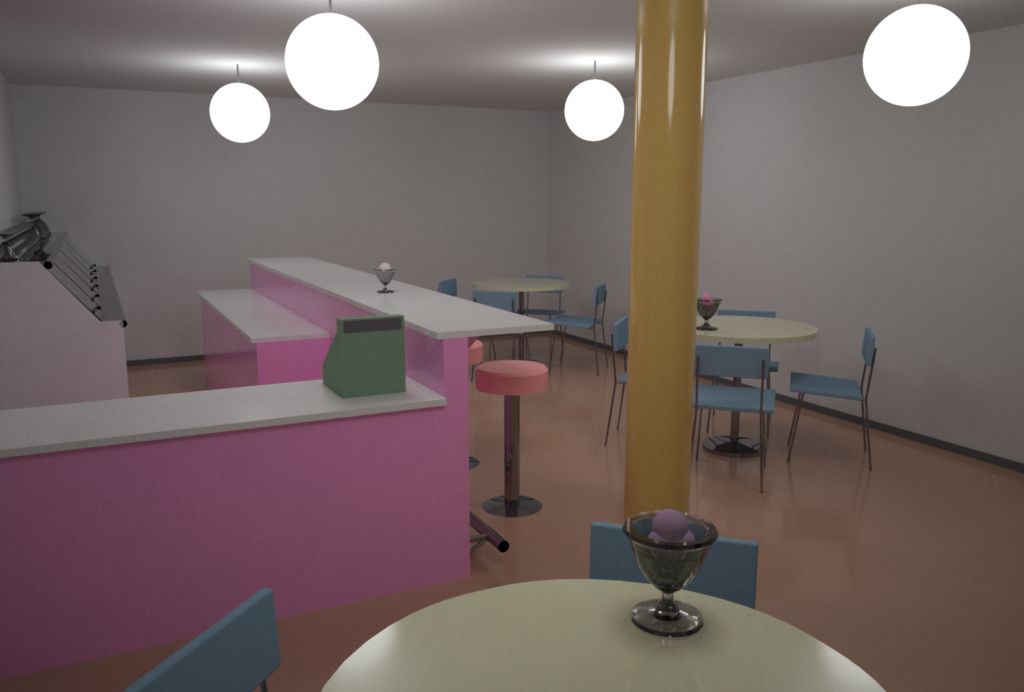
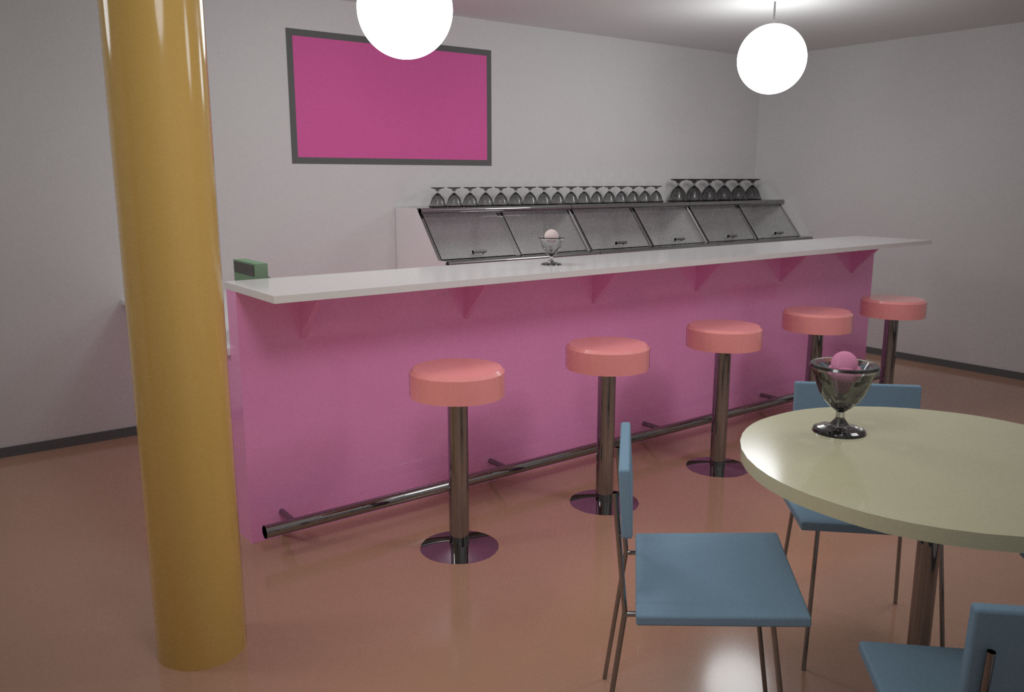
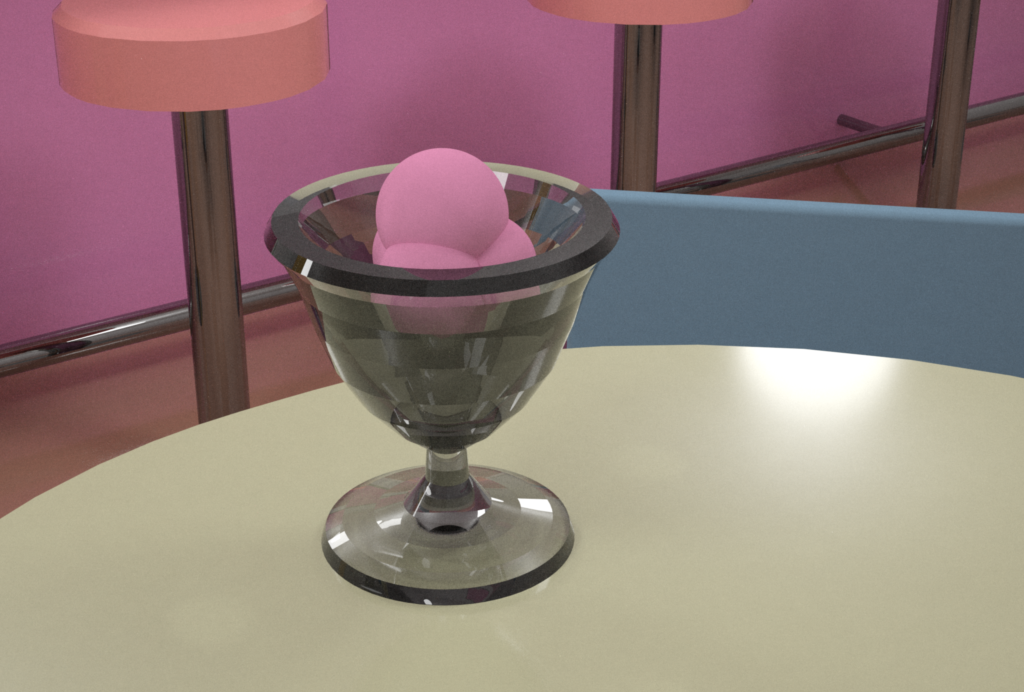
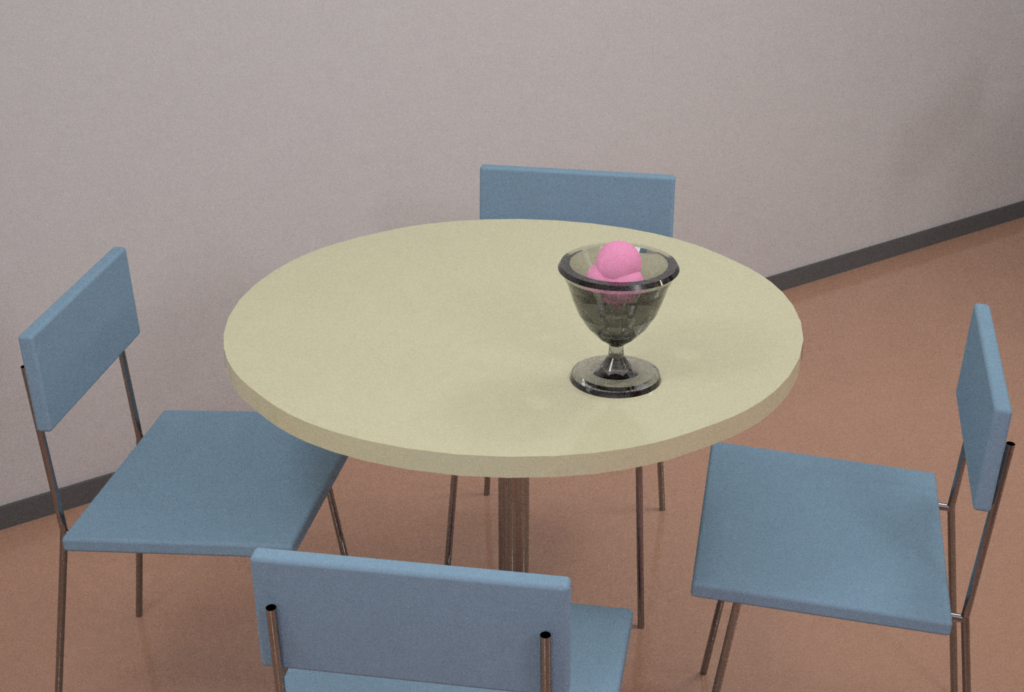
7 The Ice Cream Store
7.1 Radiance
7.2 Arnold
7.3 Luxrender
7.4 Indigo
8 The Theater
Candlestick Point State Recreation Area (SRA) Community Theater
(unbuilt)
Copyright 1989, University of California Regents.
-
Design: Mark Mack Architects
-
3D Model: Charles Ehrlich and Greg Ward
-
Renderings: Charles Ehrlich and Greg Ward
Acknowledgements: This work was conducted as a research
project during the Architecture 239X course taught by Kevin Matthews
formerly at UC Berkeley, College of Environmental Design. His assistance
and guidance was critical to the success of this study.
8.1 Radiance
8.2 Arnold
8.3 Luxrender
8.4 Indigo
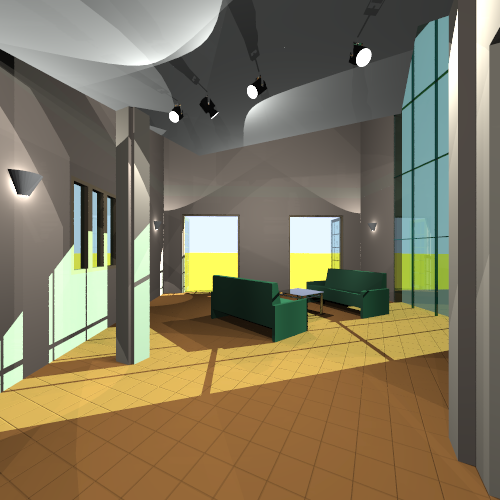
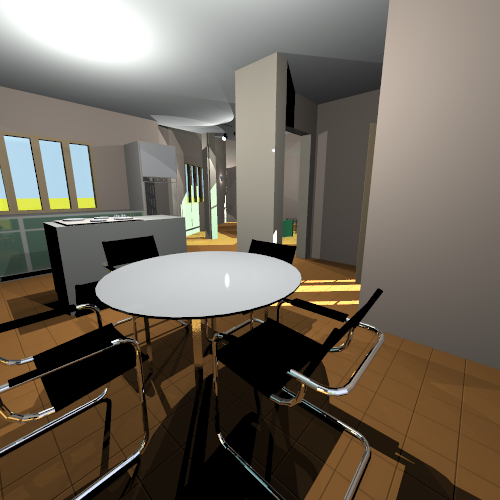
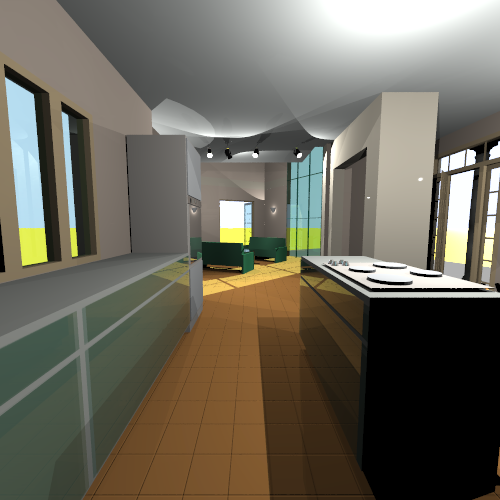
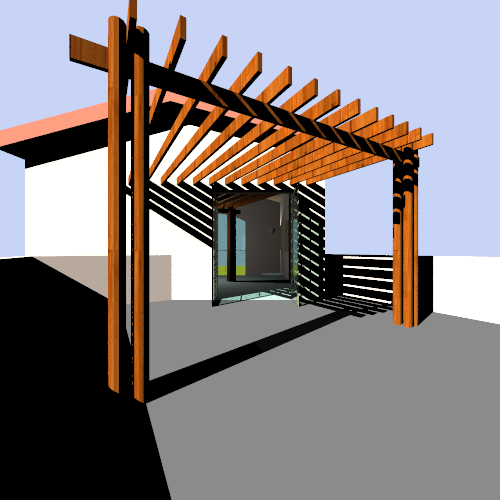
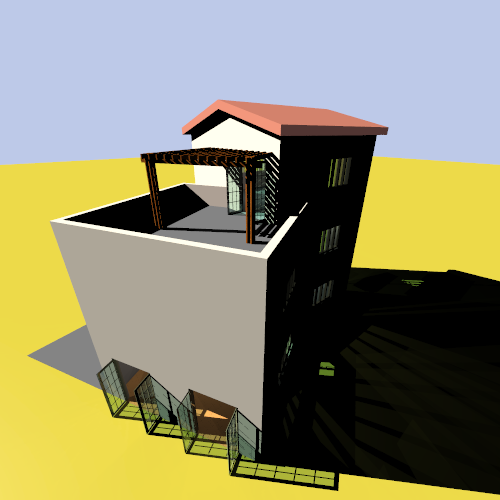
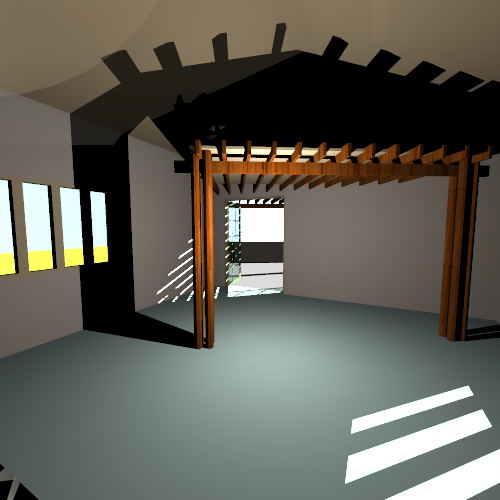
9 The Townhouse
10 Using Materials and
Textures


-
Linear tone mapping with scale 0.05